by Lina Moreyra
You’re persistent about checking your bike’s Air (See Venus blog post, What PRESSURE?!?), Brakes, and Chain before jumping on your bike and pedaling away with your Venus sisters. But what exactly is involved? Keep reading because today’s spotlight centers on how to check your bike’s braking system.
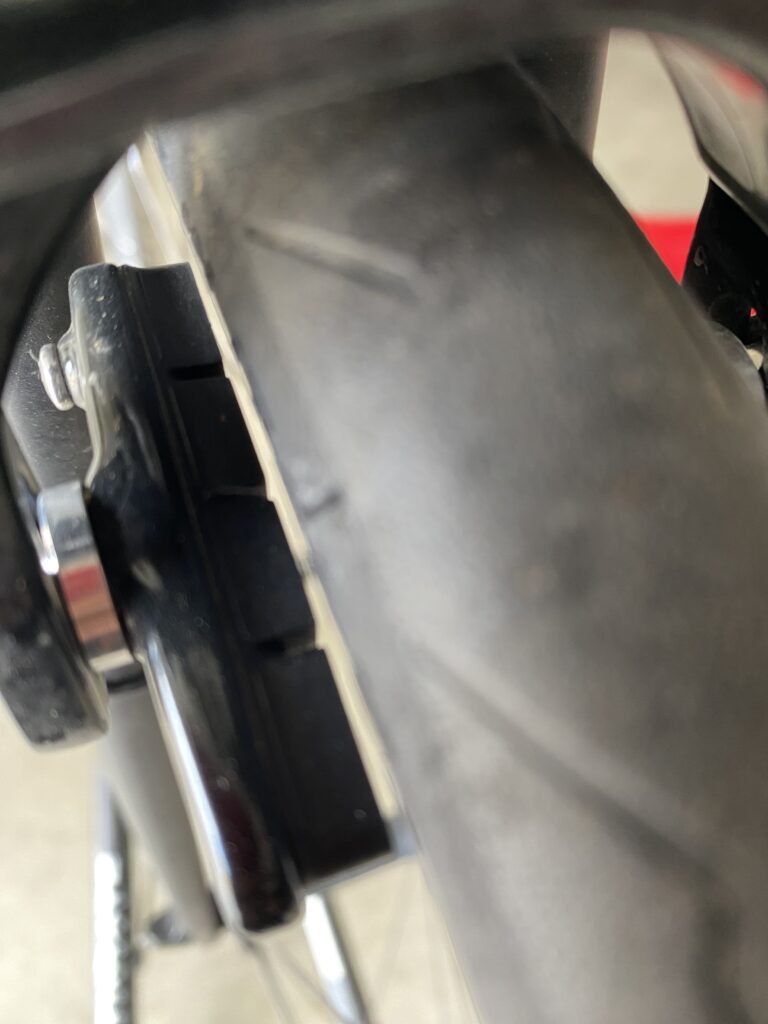
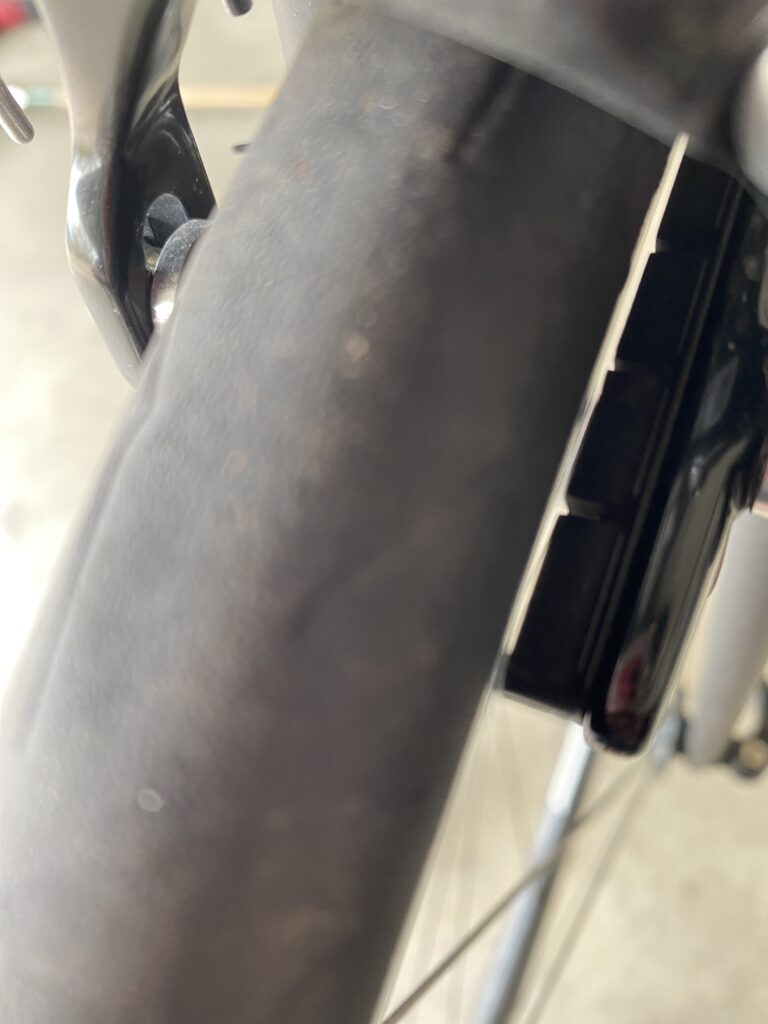
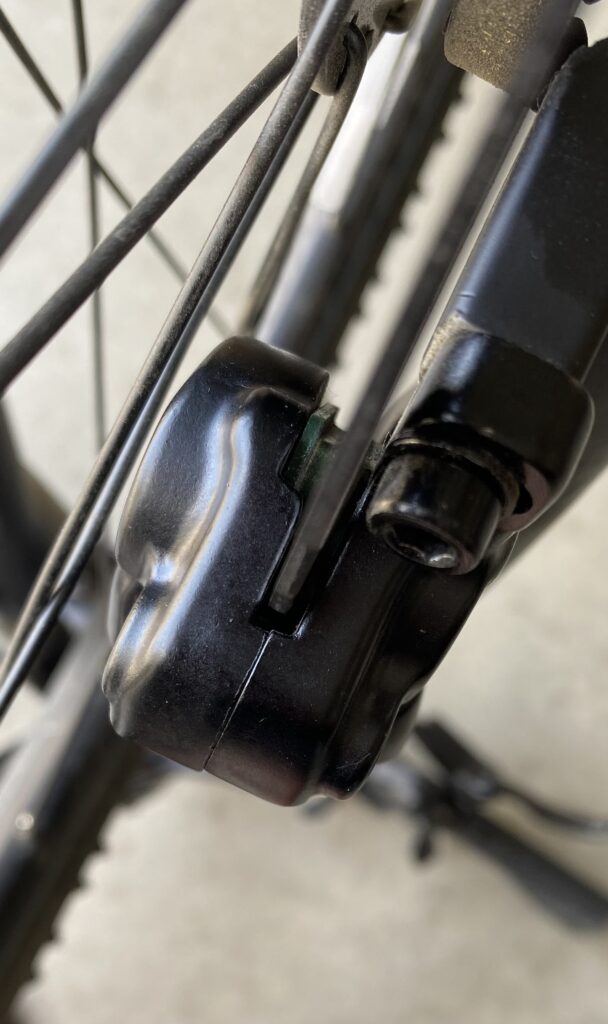
- Centering the calipers: Give your wheels a spin! The wheel rim or the rotor of the disc brake should glide smoothly and freely without making a sound. If you hear rubbing or scraping sounds on the wheel or rotor, it may mean that the brake calipers are not “centered” and are rubbing the wheel or rotor as it spins. You should see an equal amount of space on both sides of the rim or rotor.
Stop by your favorite bicycle shop, a mechanically savvy friend, or me to help you with your centering needs.
2. Cable tension: While squeezing the brake levers as if you were stopping, push the bike forward. The bike should feel locked in place. Look at your brake levers. Are they stopping halfway between the resting position and the handlebar? If they are, you’re in good shape.

If the brake levers touch or are close to the handlebar, or the bike moves while you’re pressing on the brakes, the cable tension may need to be adjusted properly. Again, seek out your favorite cycling resource to calibrate the tension.
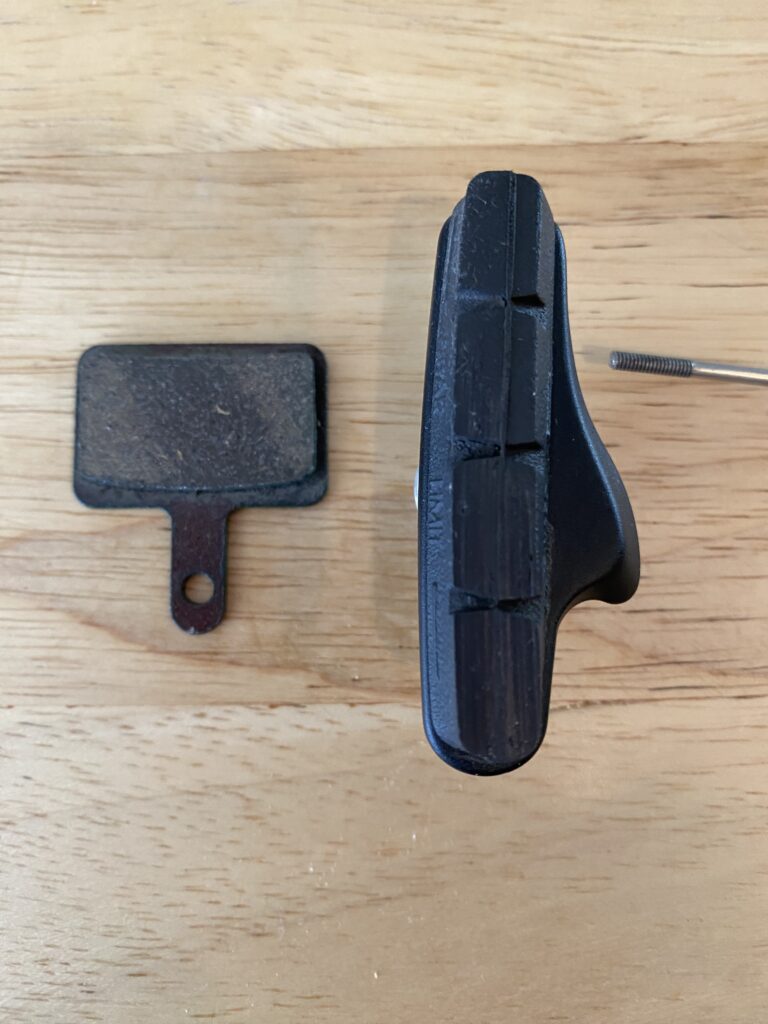
3. Inspect the brake pads: Yes, brake pads have a limited life and will wear out whether the system on your bike is a rim or disc. If your bike had an annual tune-up, these should have been inspected and replaced if needed. Pictured to the right are healthy-looking pads. If you’re still not sure, have some chocolate handy as payment for your mechanic buddy or me to provide a helping hand.
Happy riding!
Comments are closed.